I thought it’d be fun to show you girls an easy tutorial on custom iOS 14 home screens! A lot of the tutorials I’ve seen skimmed over steps and left me a little lost. So now that I’ve designed my screen, I thought I would break it down for you! If you used this tutorial to design your own home screen, tag me on Instagram @melodykschmidt! I can’t want to see what you create 🙂

STEP 1
Update your phone to iOS 14.
STEP 2
Open up the Photos app and create three different albums: icons, featured photos and quotes. You’ll need all your photos ready to go when you start designing your home screen!
STEP 3
Add photos from your camera roll, Lightroom or Pinterest boards to each album.

STEP 4
Open up the Shortcuts app (should be pre-installed on your phone)
STEP 5
Hit the “+” in the top right corner.

STEP 6
Click “Add Action”
STEP 7
In the search bar, type “Open App” and select it.
STEP 8
Choose the app you want to customize.
STEP 9
Hit the “…” in the top right-hand corner.
STEP 10
Give the app a custom name and click “add to home screen.”
STEP 11
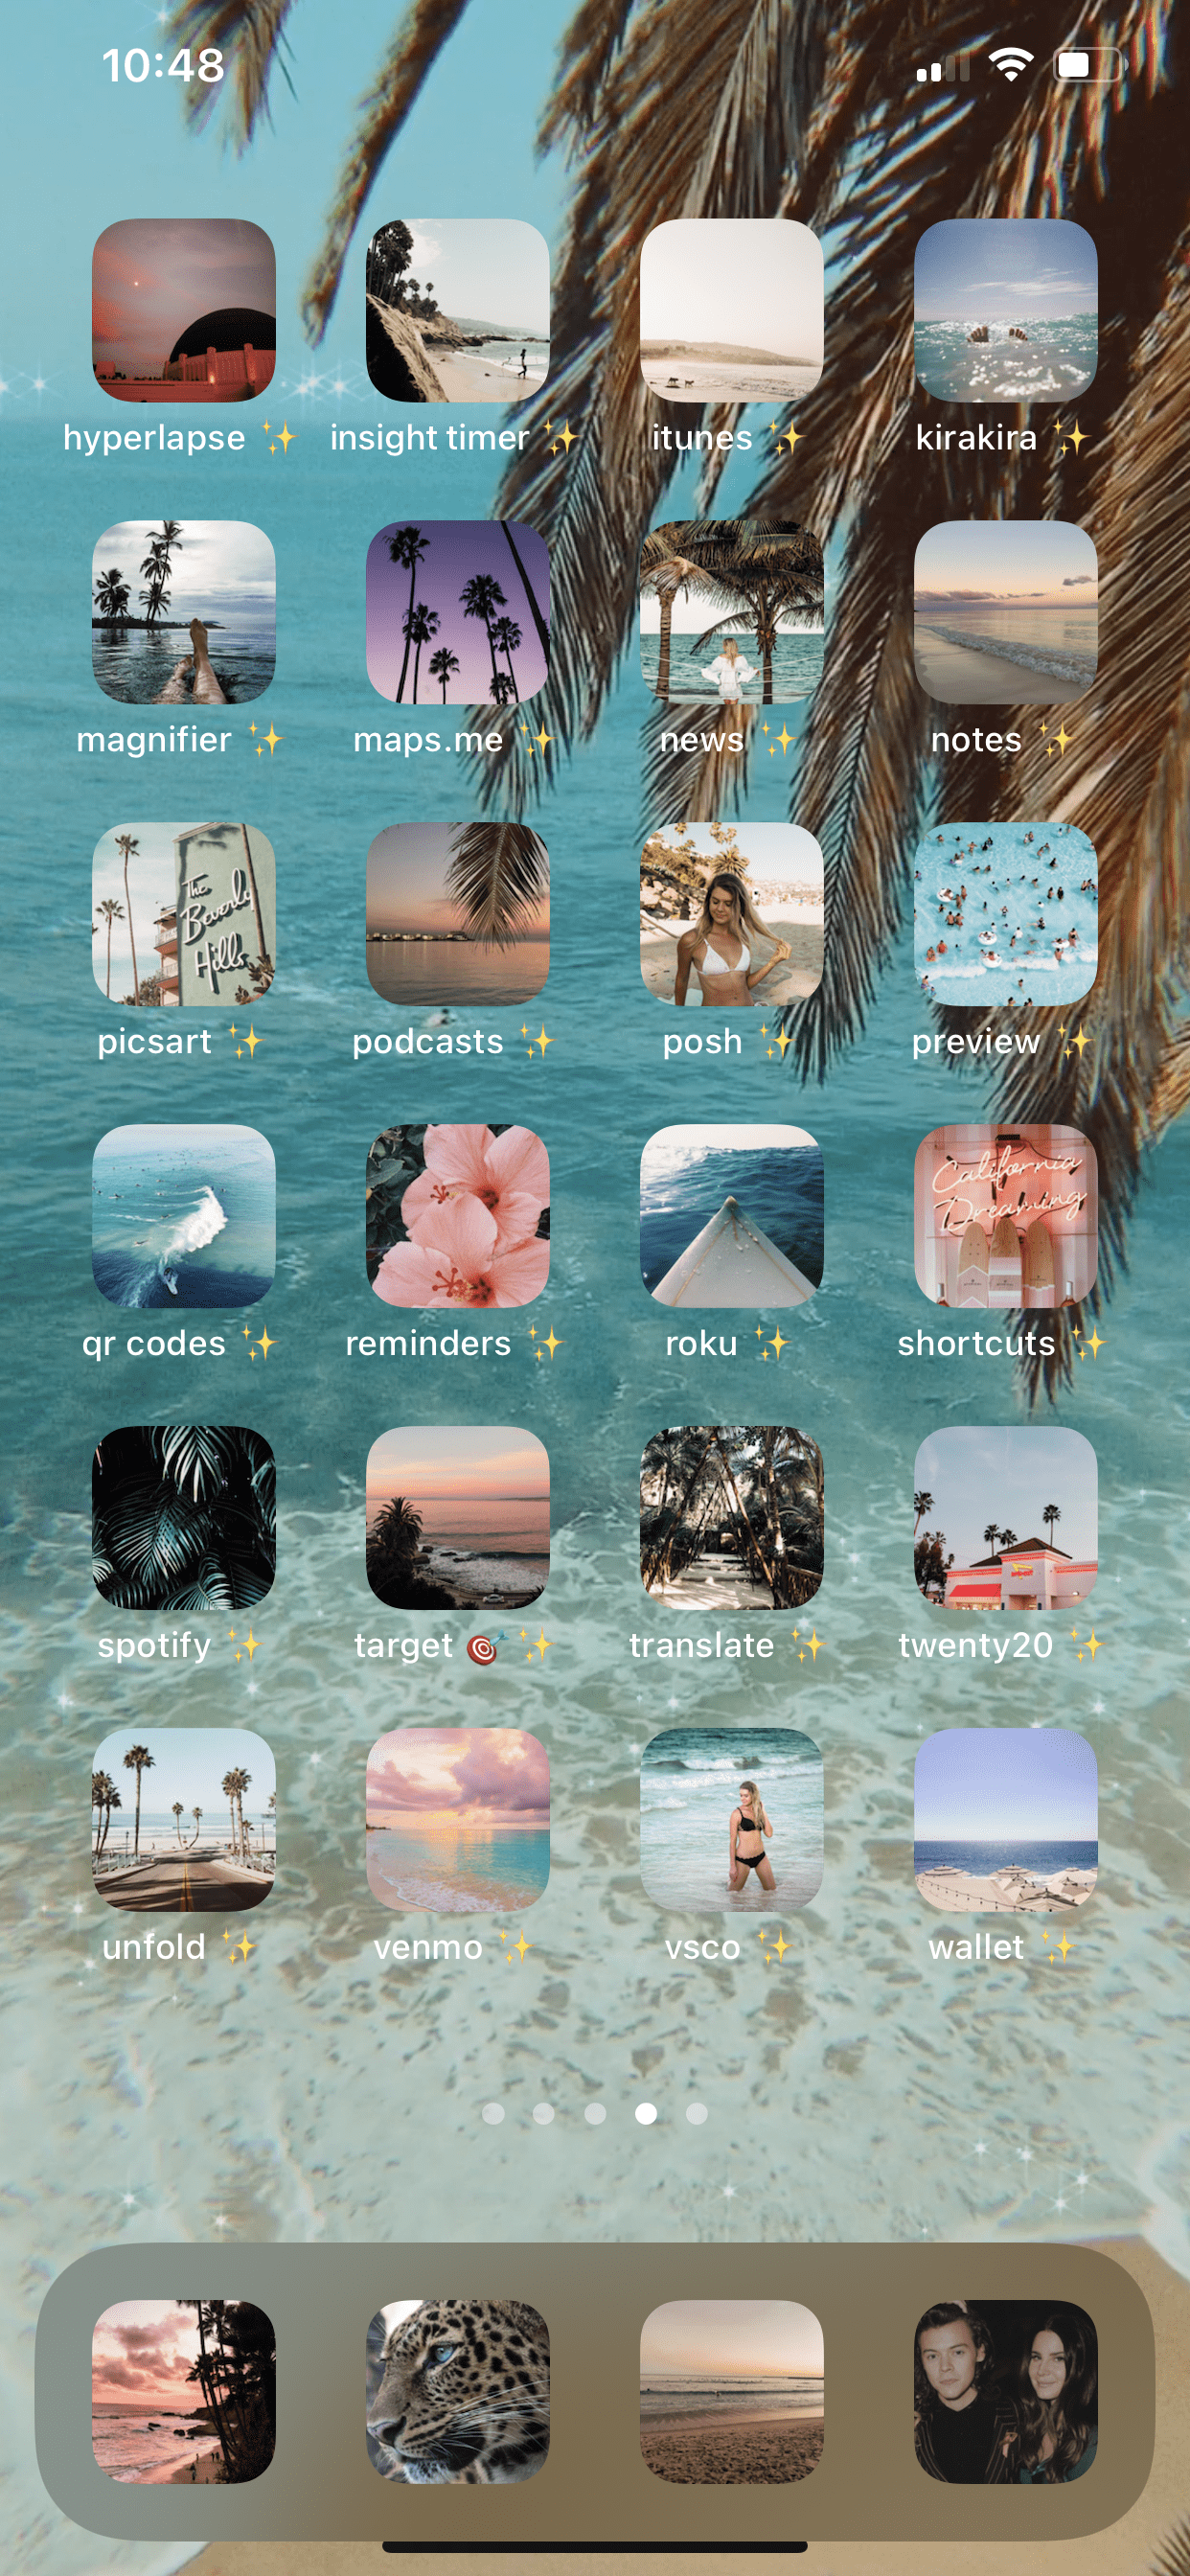
Type in the shortcut name + click the icon + click “choose photo” to customize. I chose photos for each icon, but you can easily design icons with Illustrator or Canva.
STEP 12
Click “add” to finish the shortcut. Repeat this process for every app you want to customize. It takes time, but it’s worth it!
STEP 13
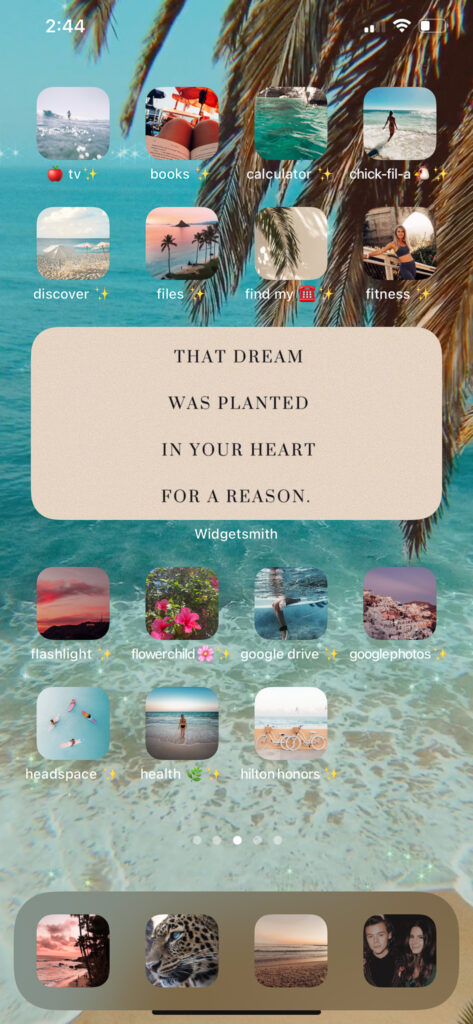
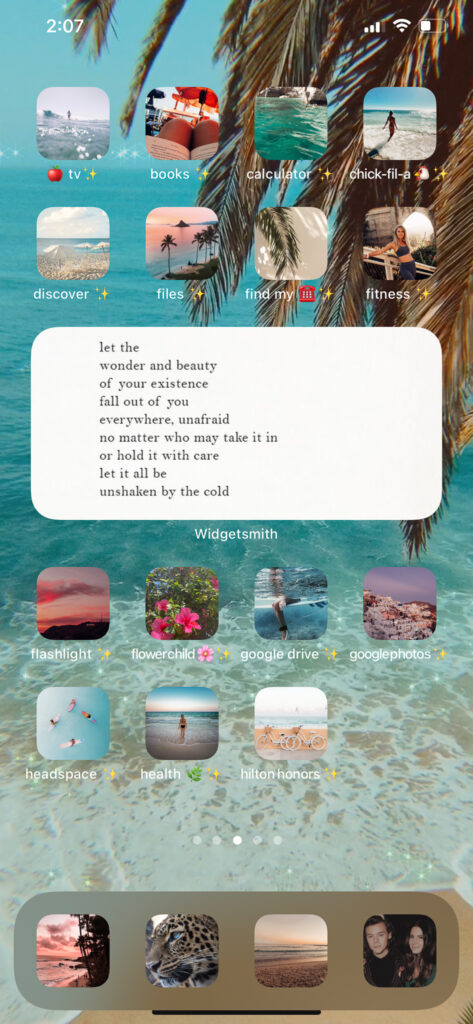
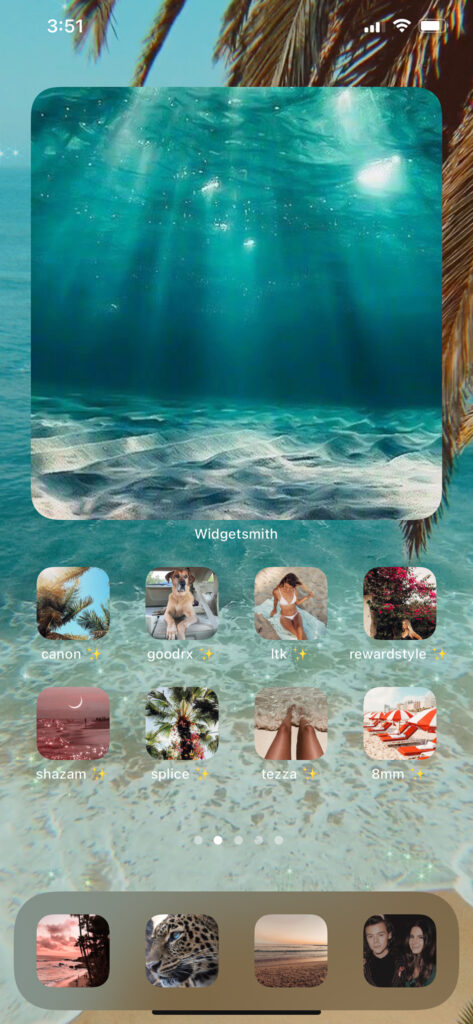
Organize your new aesthetic icons and move the original apps into an easy-to-navigate folder on the last page of your home screen.
STEP 14
Download the “Widgetsmith” app from the App Store. Create “widgets” for calendars, photo albums and more. This is how you display a photo album on your home screen!
STEP 15
Hold down your home screen, select the “+” in the top left and add a widget from Widgetsmith to each page.