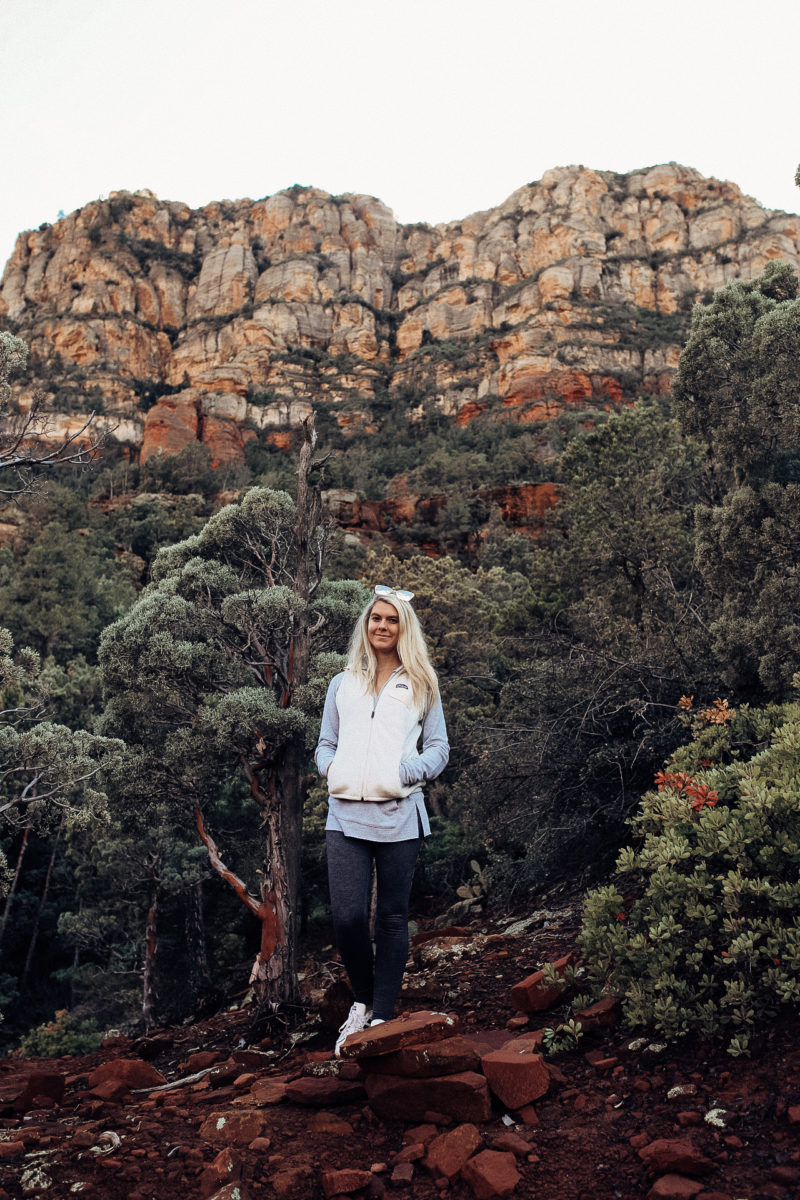
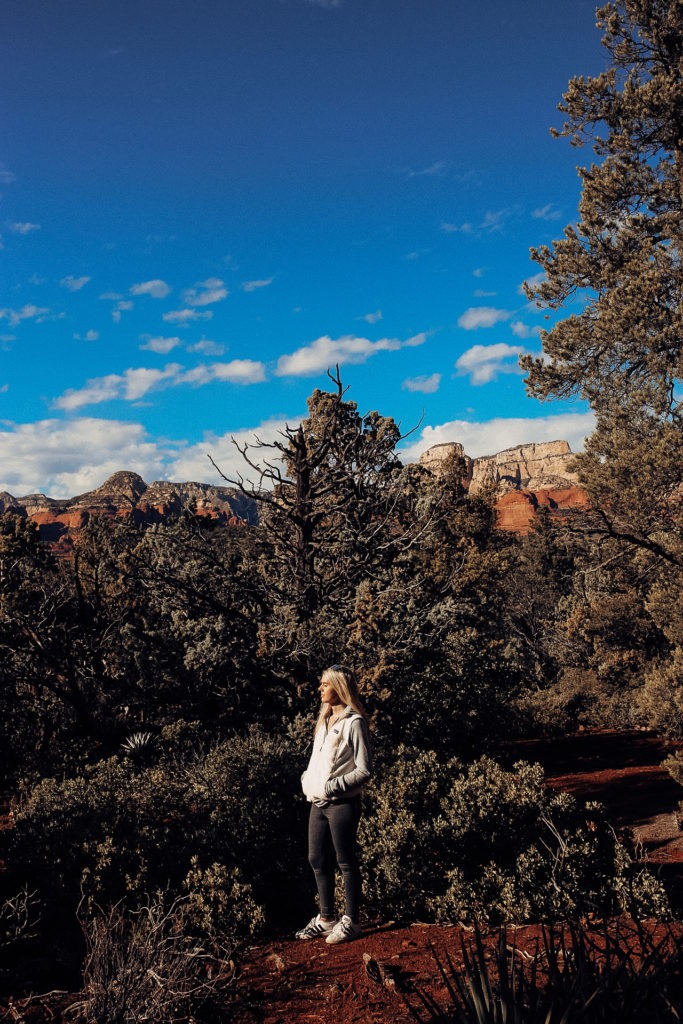
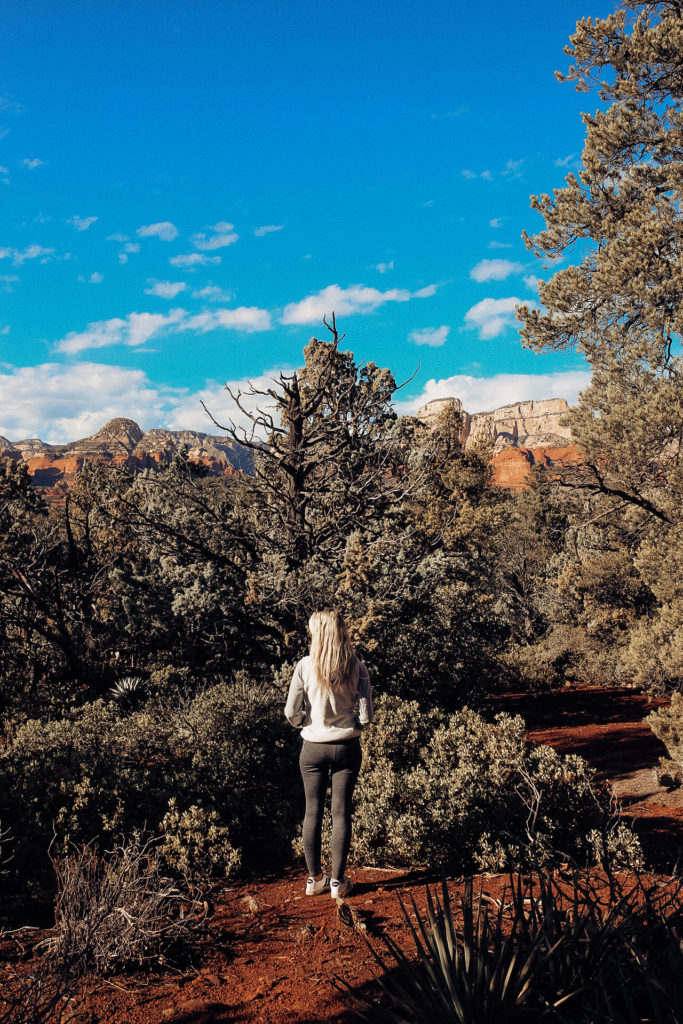
Most of my time in Sedona was spent hiking and exploring all the beautiful nature that this mystical Arizona town has to offer. Out of all the state parks I explored, Red Rock State Park quickly became my favorite. Red Rock is home to one of the most scenic hikes in Arizona: Devil’s Bridge.
You may be familiar with Devil’s Bridge if you’ve seen the thousands of pictures on Instagram of people standing on a rock bridge with expansive views of Sedona’s red rocks. This hike makes for some incredible photos, but before I dive into this guide, I want to get something important out of the way first.
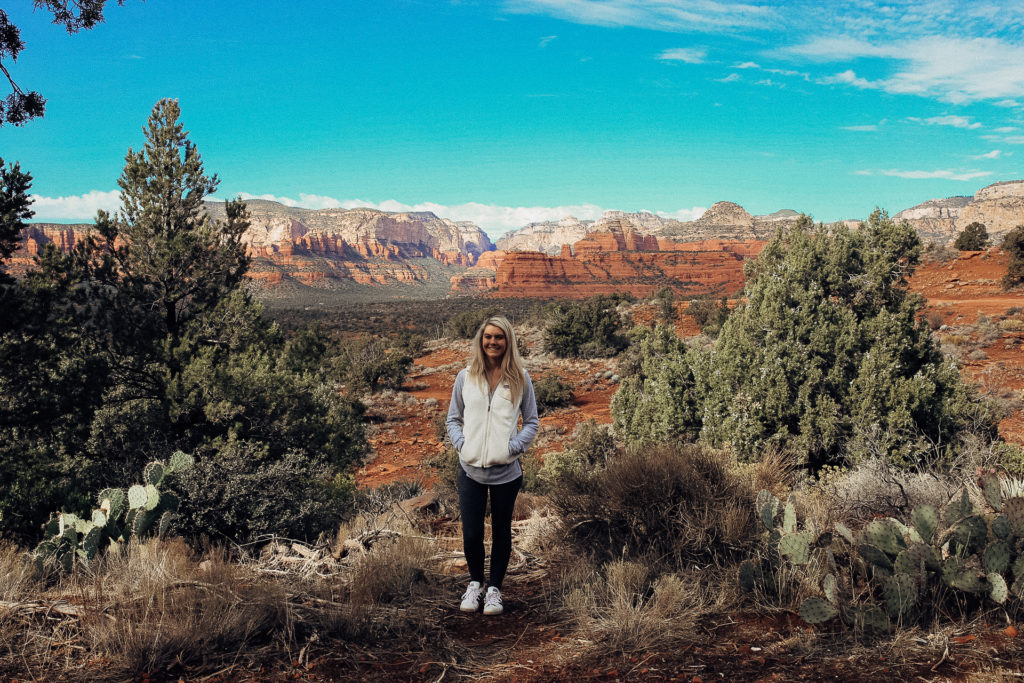
The first 80% of this hike is relatively easy and winds slowly upwards. I only recommend this portion of the hike: it’s completely safe and the views are stunning. However, I was a little blindsided at the end of the hike. The last 20% of the hike to get to Devil’s Bridge is dangerous. There are steep drop-offs that are hundreds of feet high with no rail and there are portions where you have to climb up steep and slippery rocks on your hands and knees.
Once you reach the top, it’s actually quite risky to climb out onto the bridge because you are suspended hundreds of feet into the air with no rails. As a travel blogger, I feel it’s my responsibility to make sure no one risks their lives for an Instagram picture. Not a single blog warned me about the danger prior to my visit, and I want to ensure that you know the risks before embarking on the last part of the hike.


With that little safety disclaimer out of the way, let’s get to the good stuff: the highlights of this hike! This hike took me about 3.5 hours. Even though online resources say the hike is short, they don’t factor in the extra 2 miles each way that you have to walk from the dirt parking lot to the Devil’s Bridge trailhead. You can access a full map of the trail here.
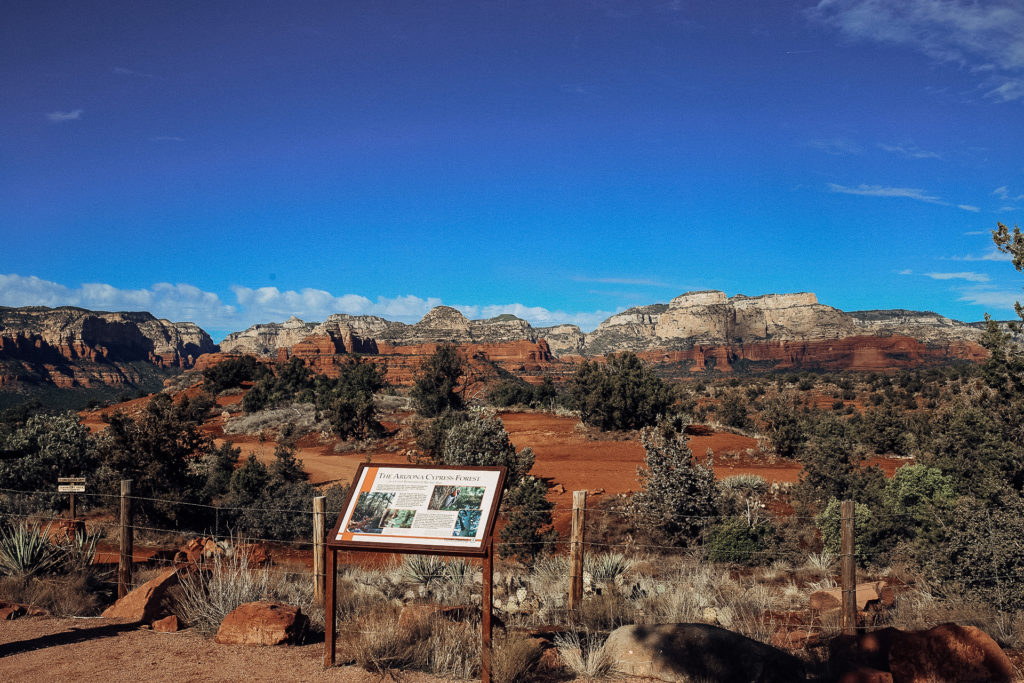
This part of the hike is completely flat on a dirt road with beautiful views of the gorgeous Sedona red rocks. This area is great for photography and taking it easy before you hit higher elevation. After 2 miles, you’ll reach the trailhead for Devil’s Bridge, and will slowly wind your way up. This portion of the hike includes lots of shallow steps, and the hike becomes progressively harder as you go up.

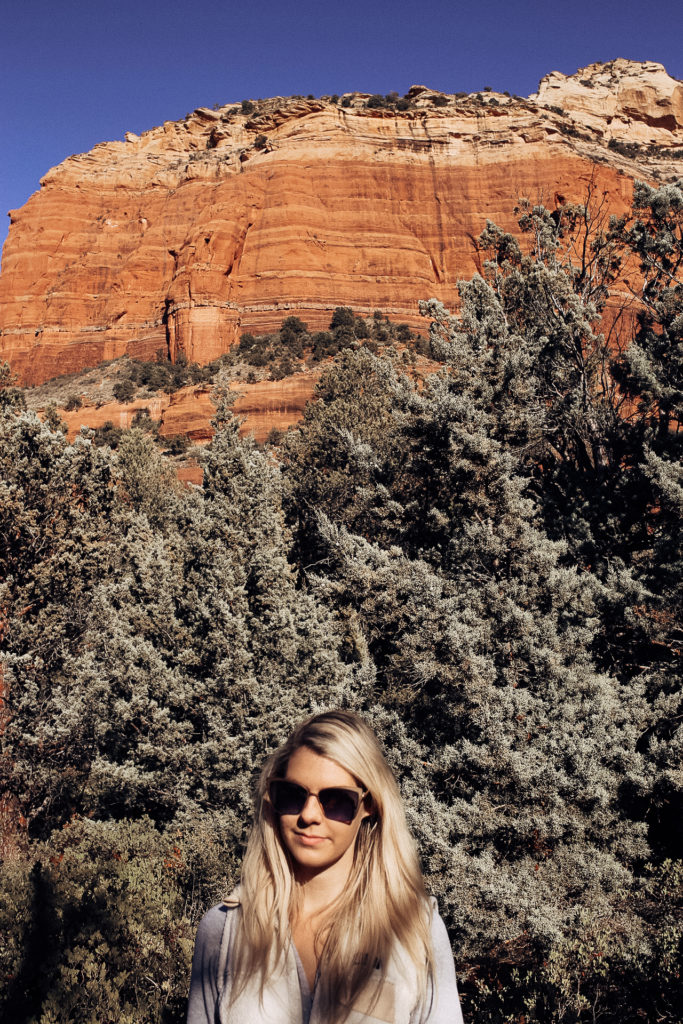
After you pass signs for Coconino National Forest, you’ll reach a steep set of rocks where you’ll have to climb on your hands and knees. This is honestly the only part of the hike that’s difficult, but the views are so worth it. After you climb the rockface, you’ll be met with expansive views of Sedona’s red rocks and the forest below.
Although it may look like you’re standing at the edge in photos, there’s actually ground directly below the ledge. You can easily sit down and take photos here with no fear of falling like the photos below might suggest. Pictures don’t even do this place justice. Out of all of the state and national parks that I’ve visited, this view is my absolute favorite.

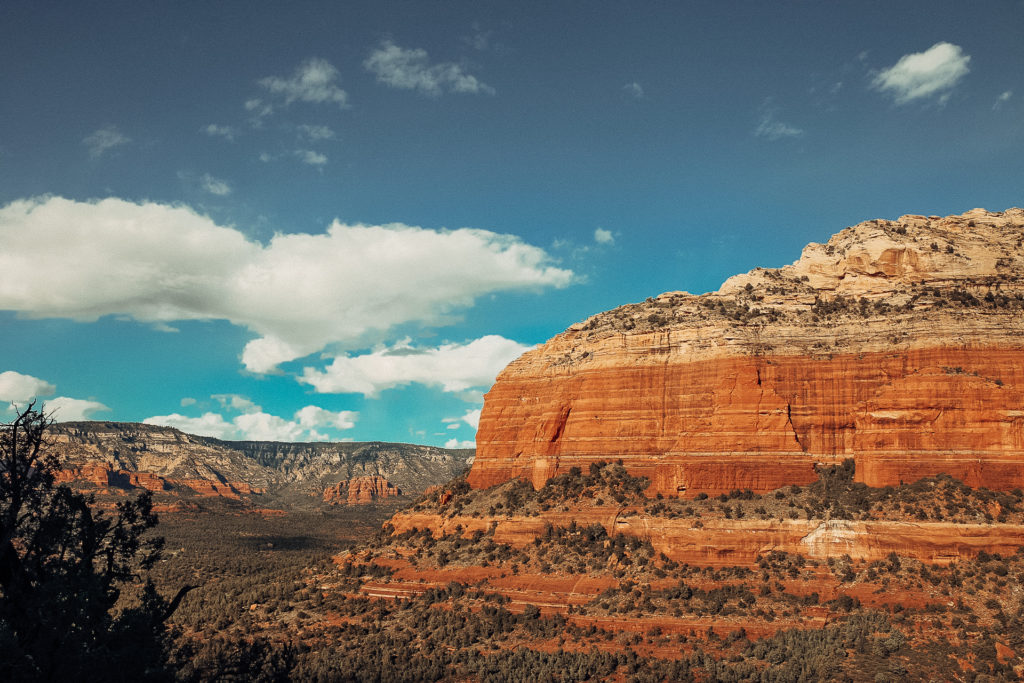
This is a great place to end you hike or take a rest before moving onto Devil’s Bridge. I did hike the rest of the way up, but due to the danger of falling and losing my equipment, I chose not to take any photos at the end of the hike. If you do have your heart set on getting photos on the bridge, I recommend starting as early in the morning as possible to avoid crowds and having to pass anyone on the narrow trails near the top.
Pin It!

